Initial setup
ZeroDev Account
Enable in Dynamic
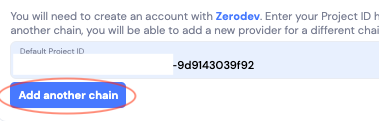
Adding Multichain Providers (if desired)

Choose who gets a SCW
- Wallet level
- User level
Choose if your users see both the signer and smart wallet
- Show Smart Wallet Only
- Show Smart Wallet & Signer
Enable Dynamic-powered embedded wallets + Email
Render Dynamic
@dynamic-labs/sdk-react-core@dynamic-labs/ethereum-aa@dynamic-labs/ethereum
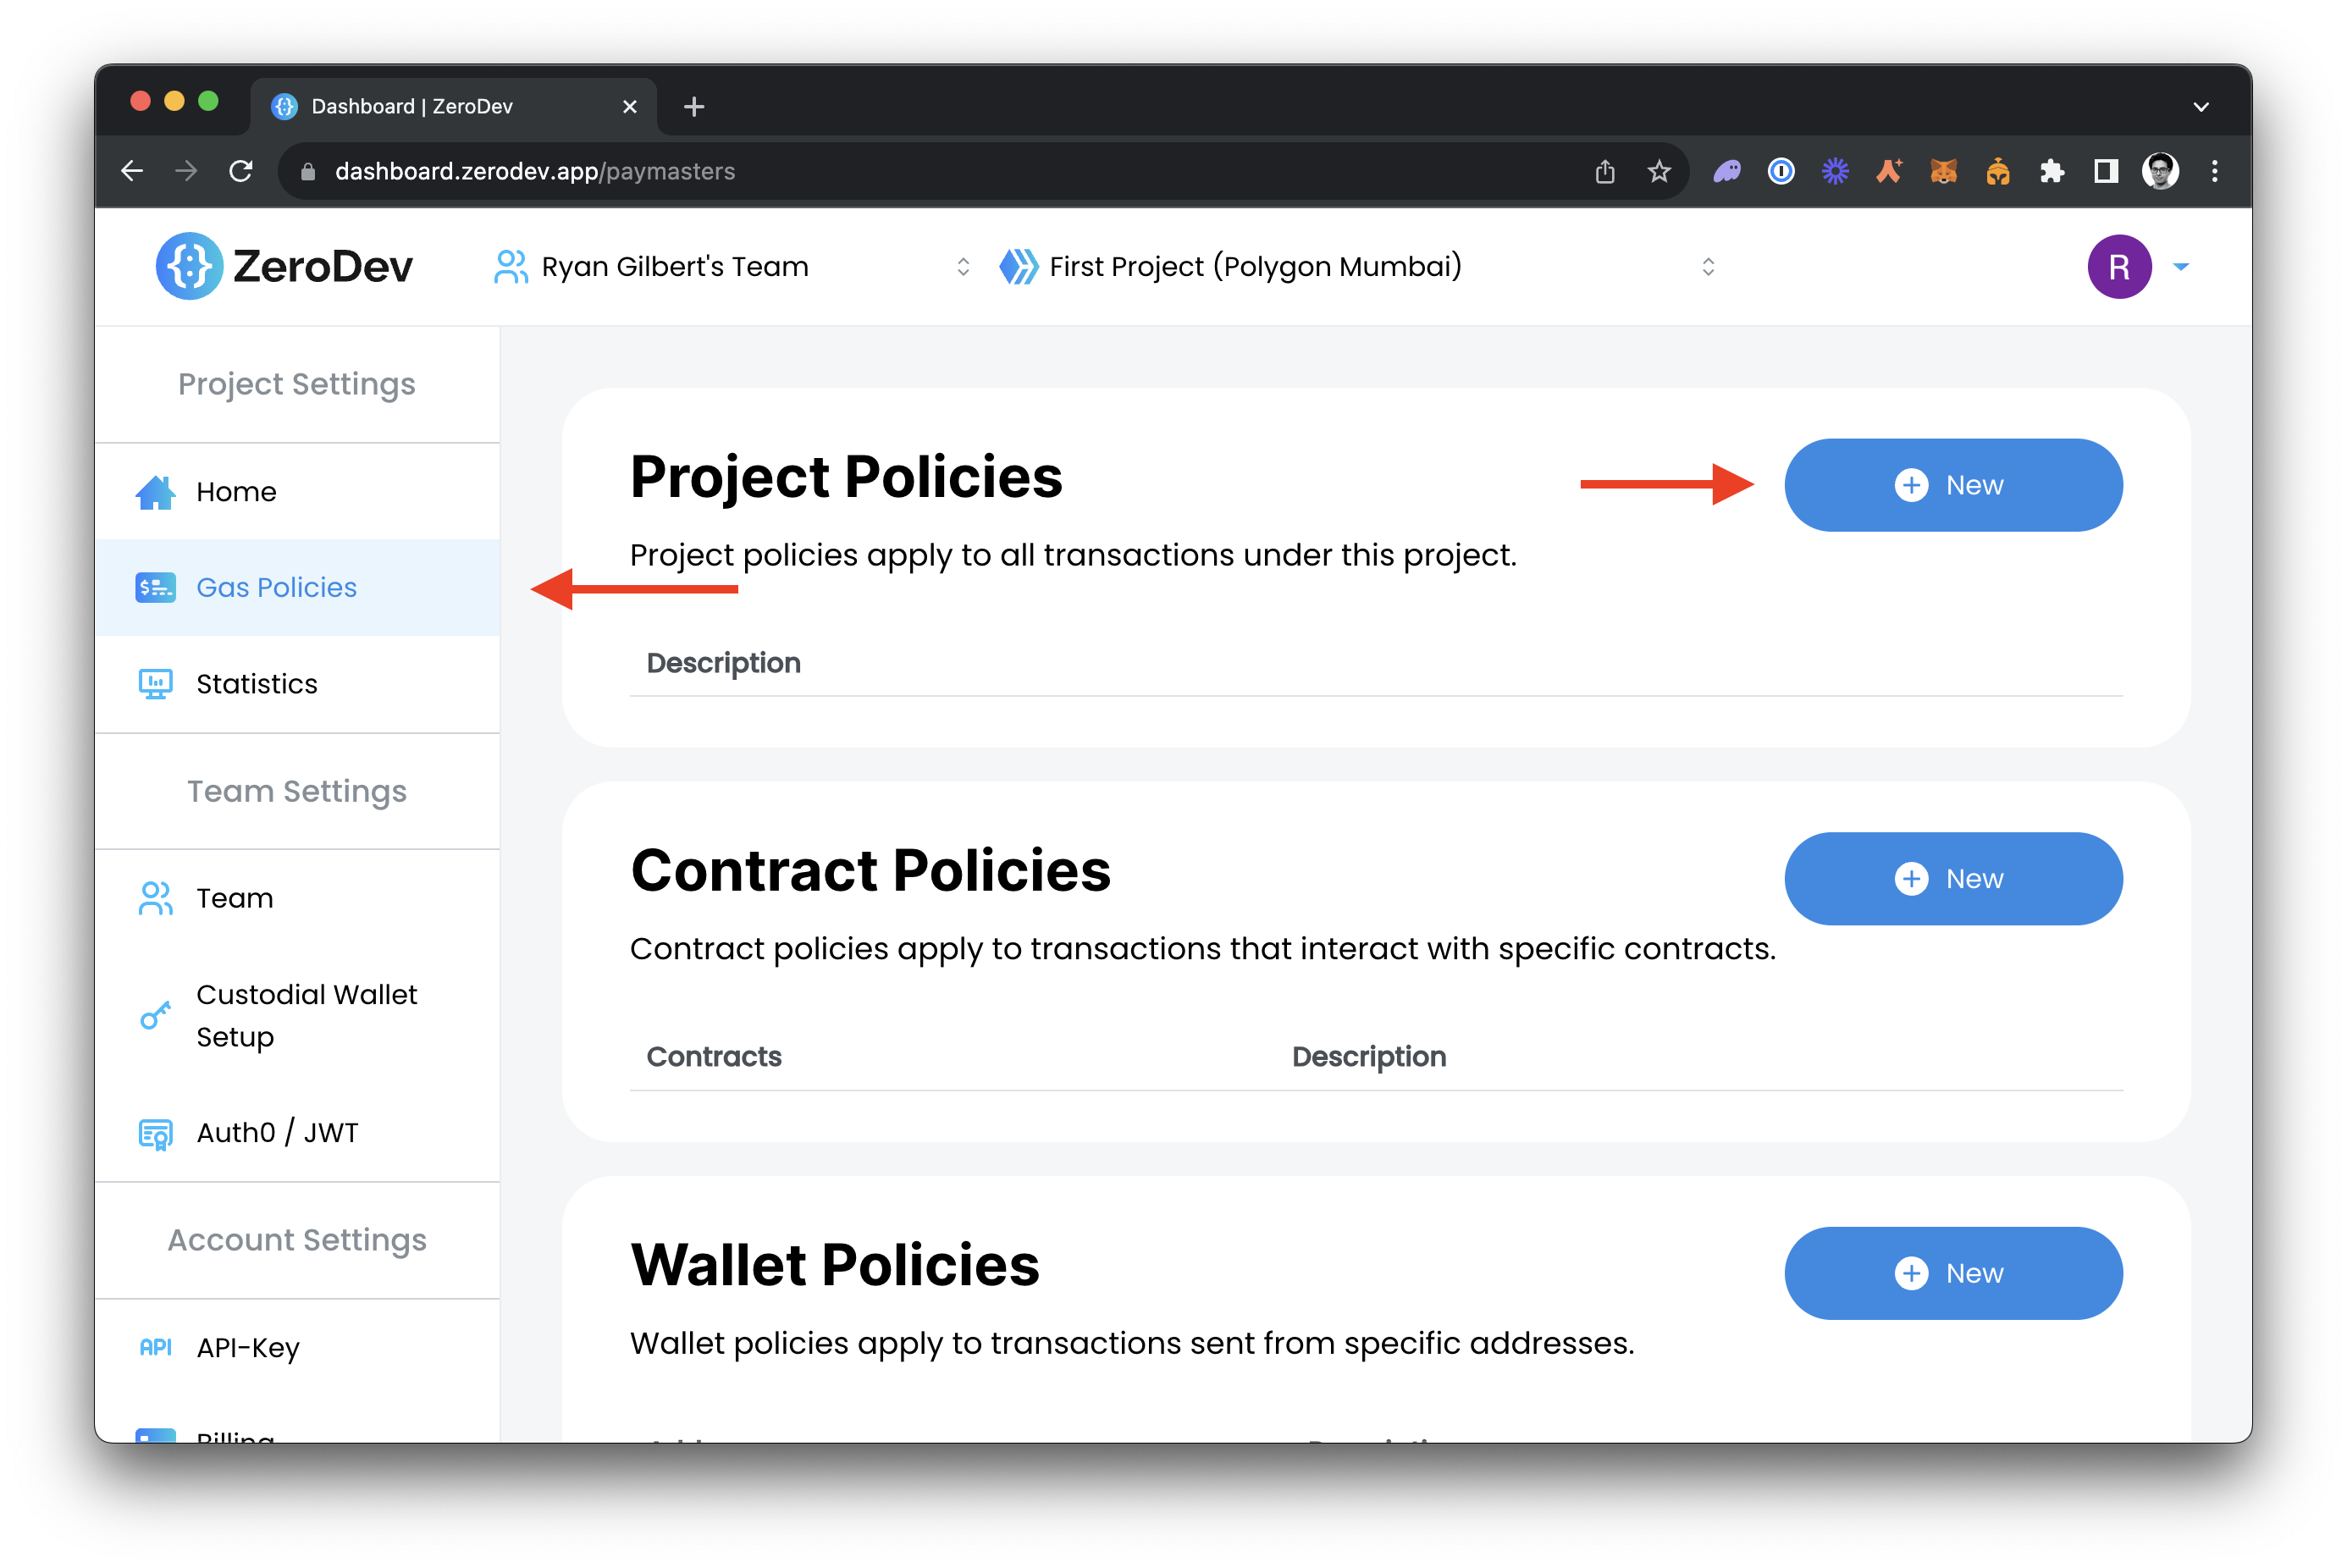
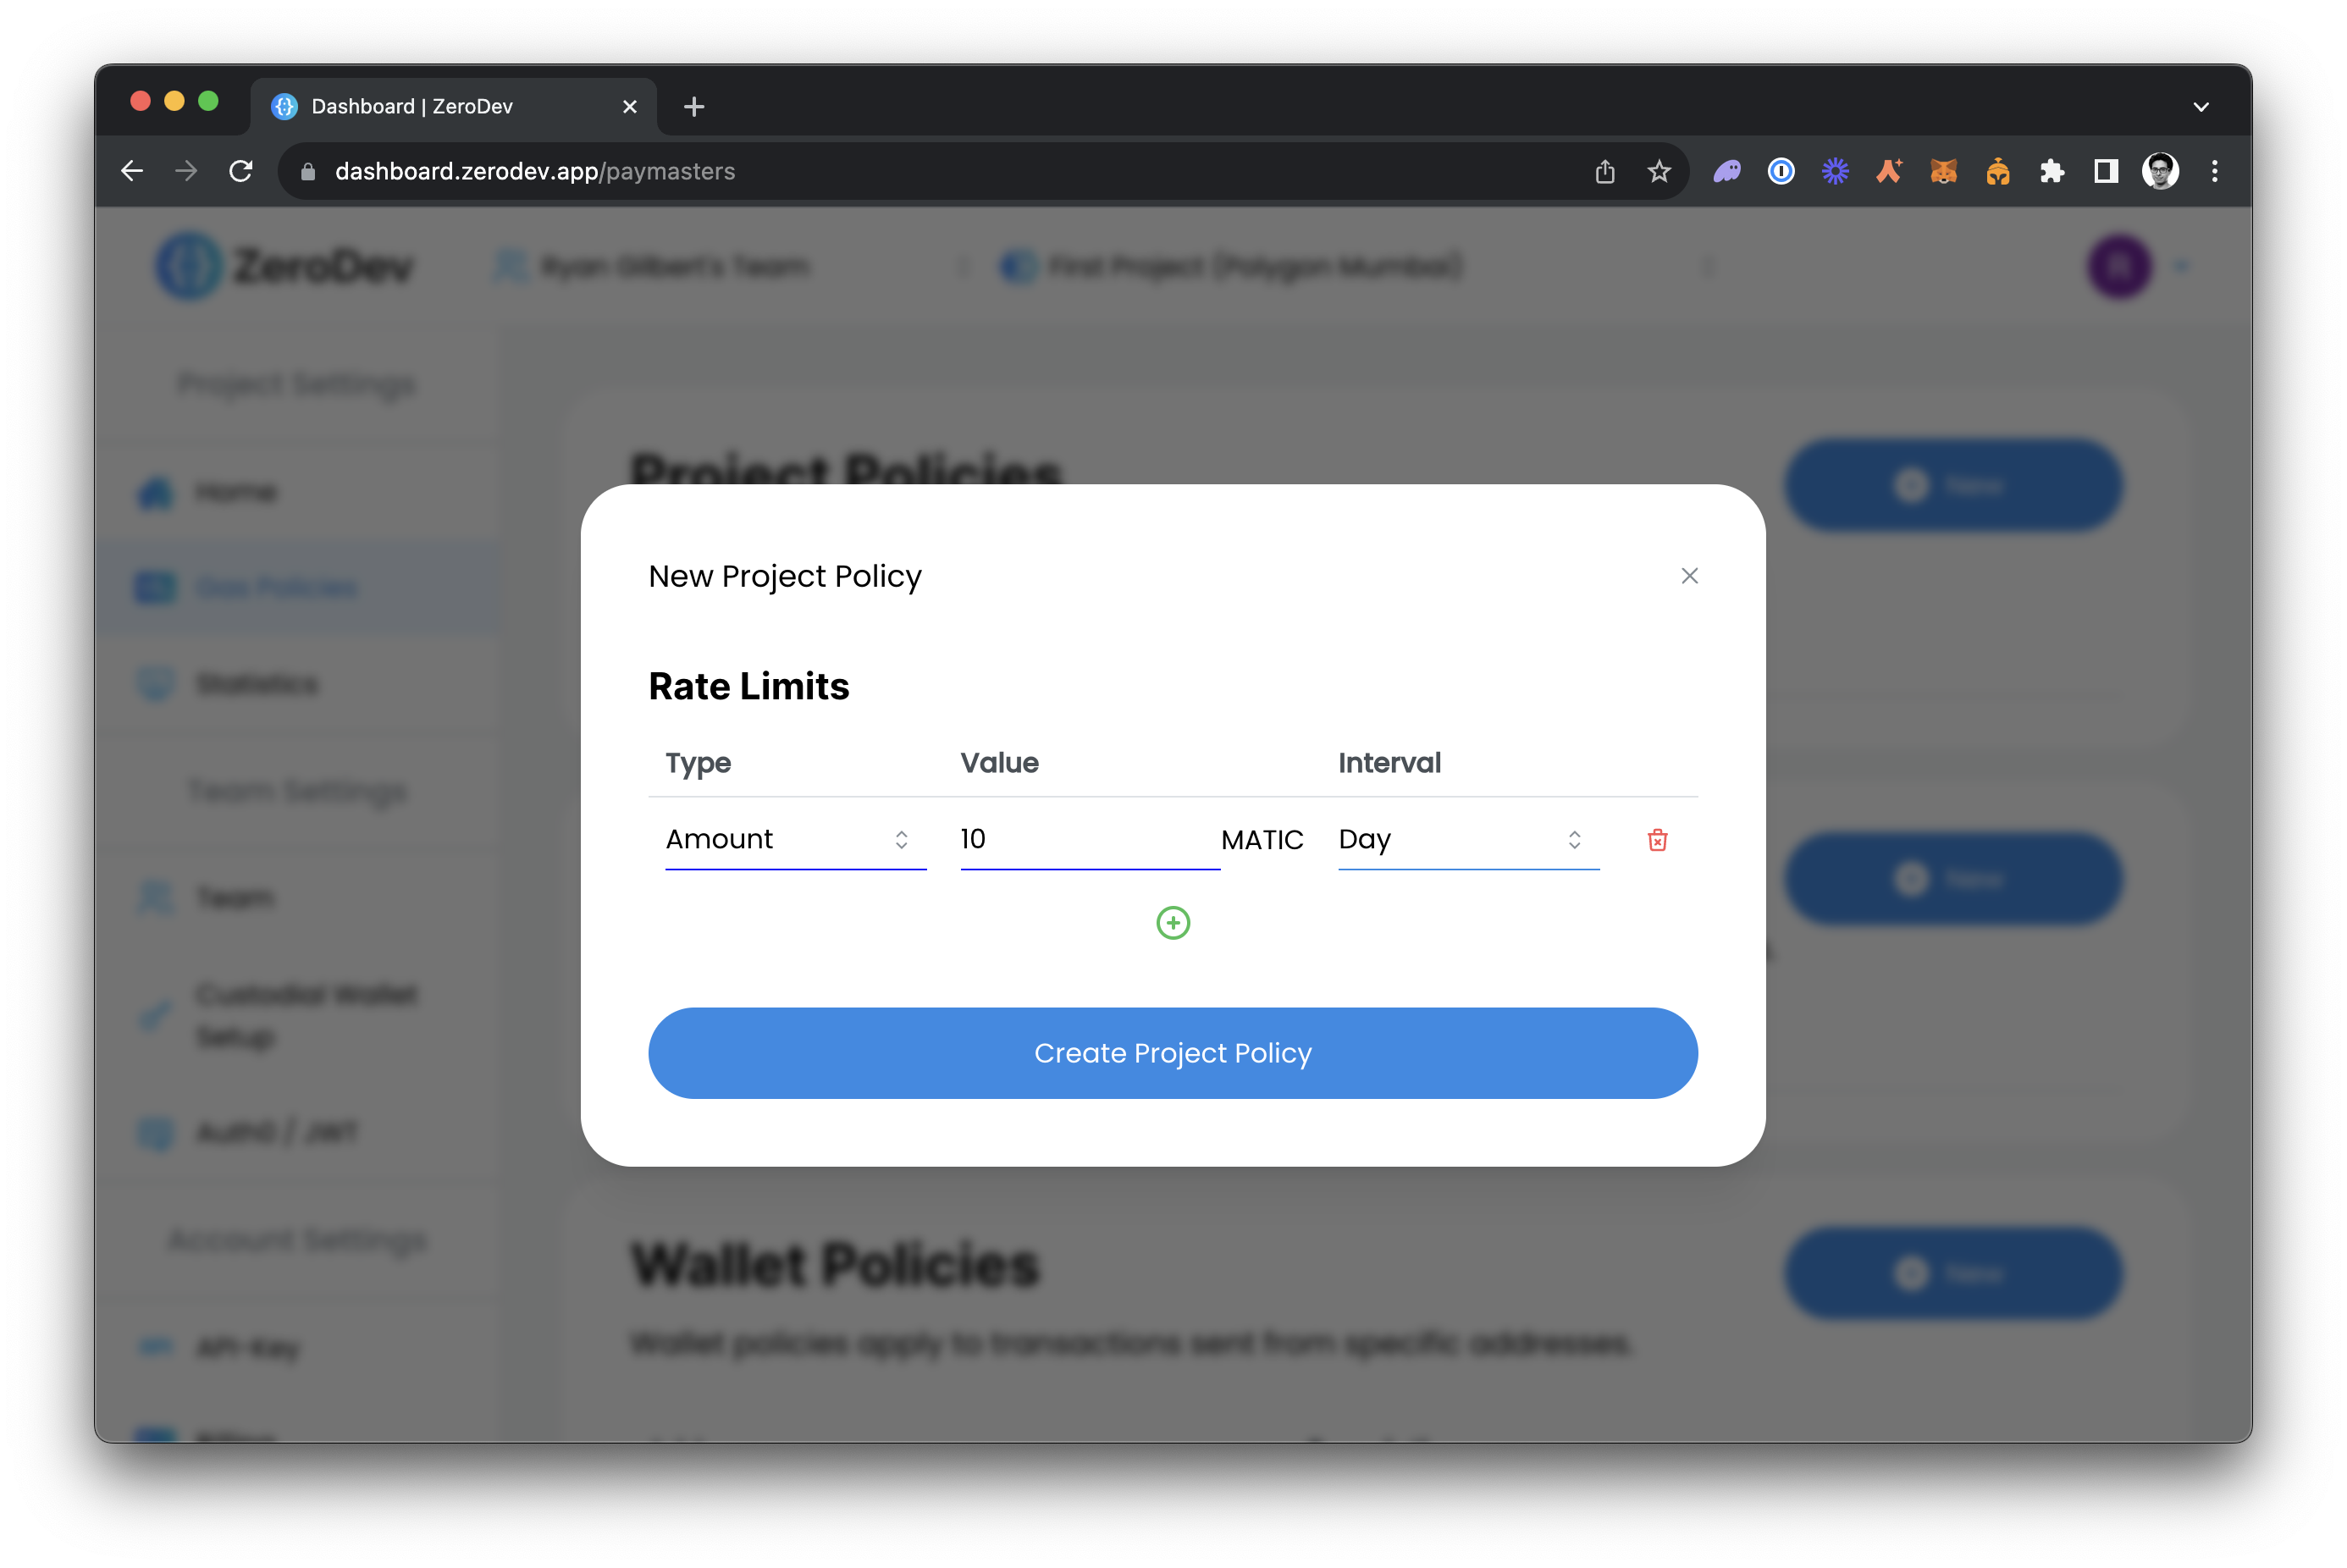
ZeroDevSmartWalletConnectors and EthereumWalletConnectors to the walletConnectors prop on DynamicContextProvider.^2.0.5Set up a gas sponsorship rule
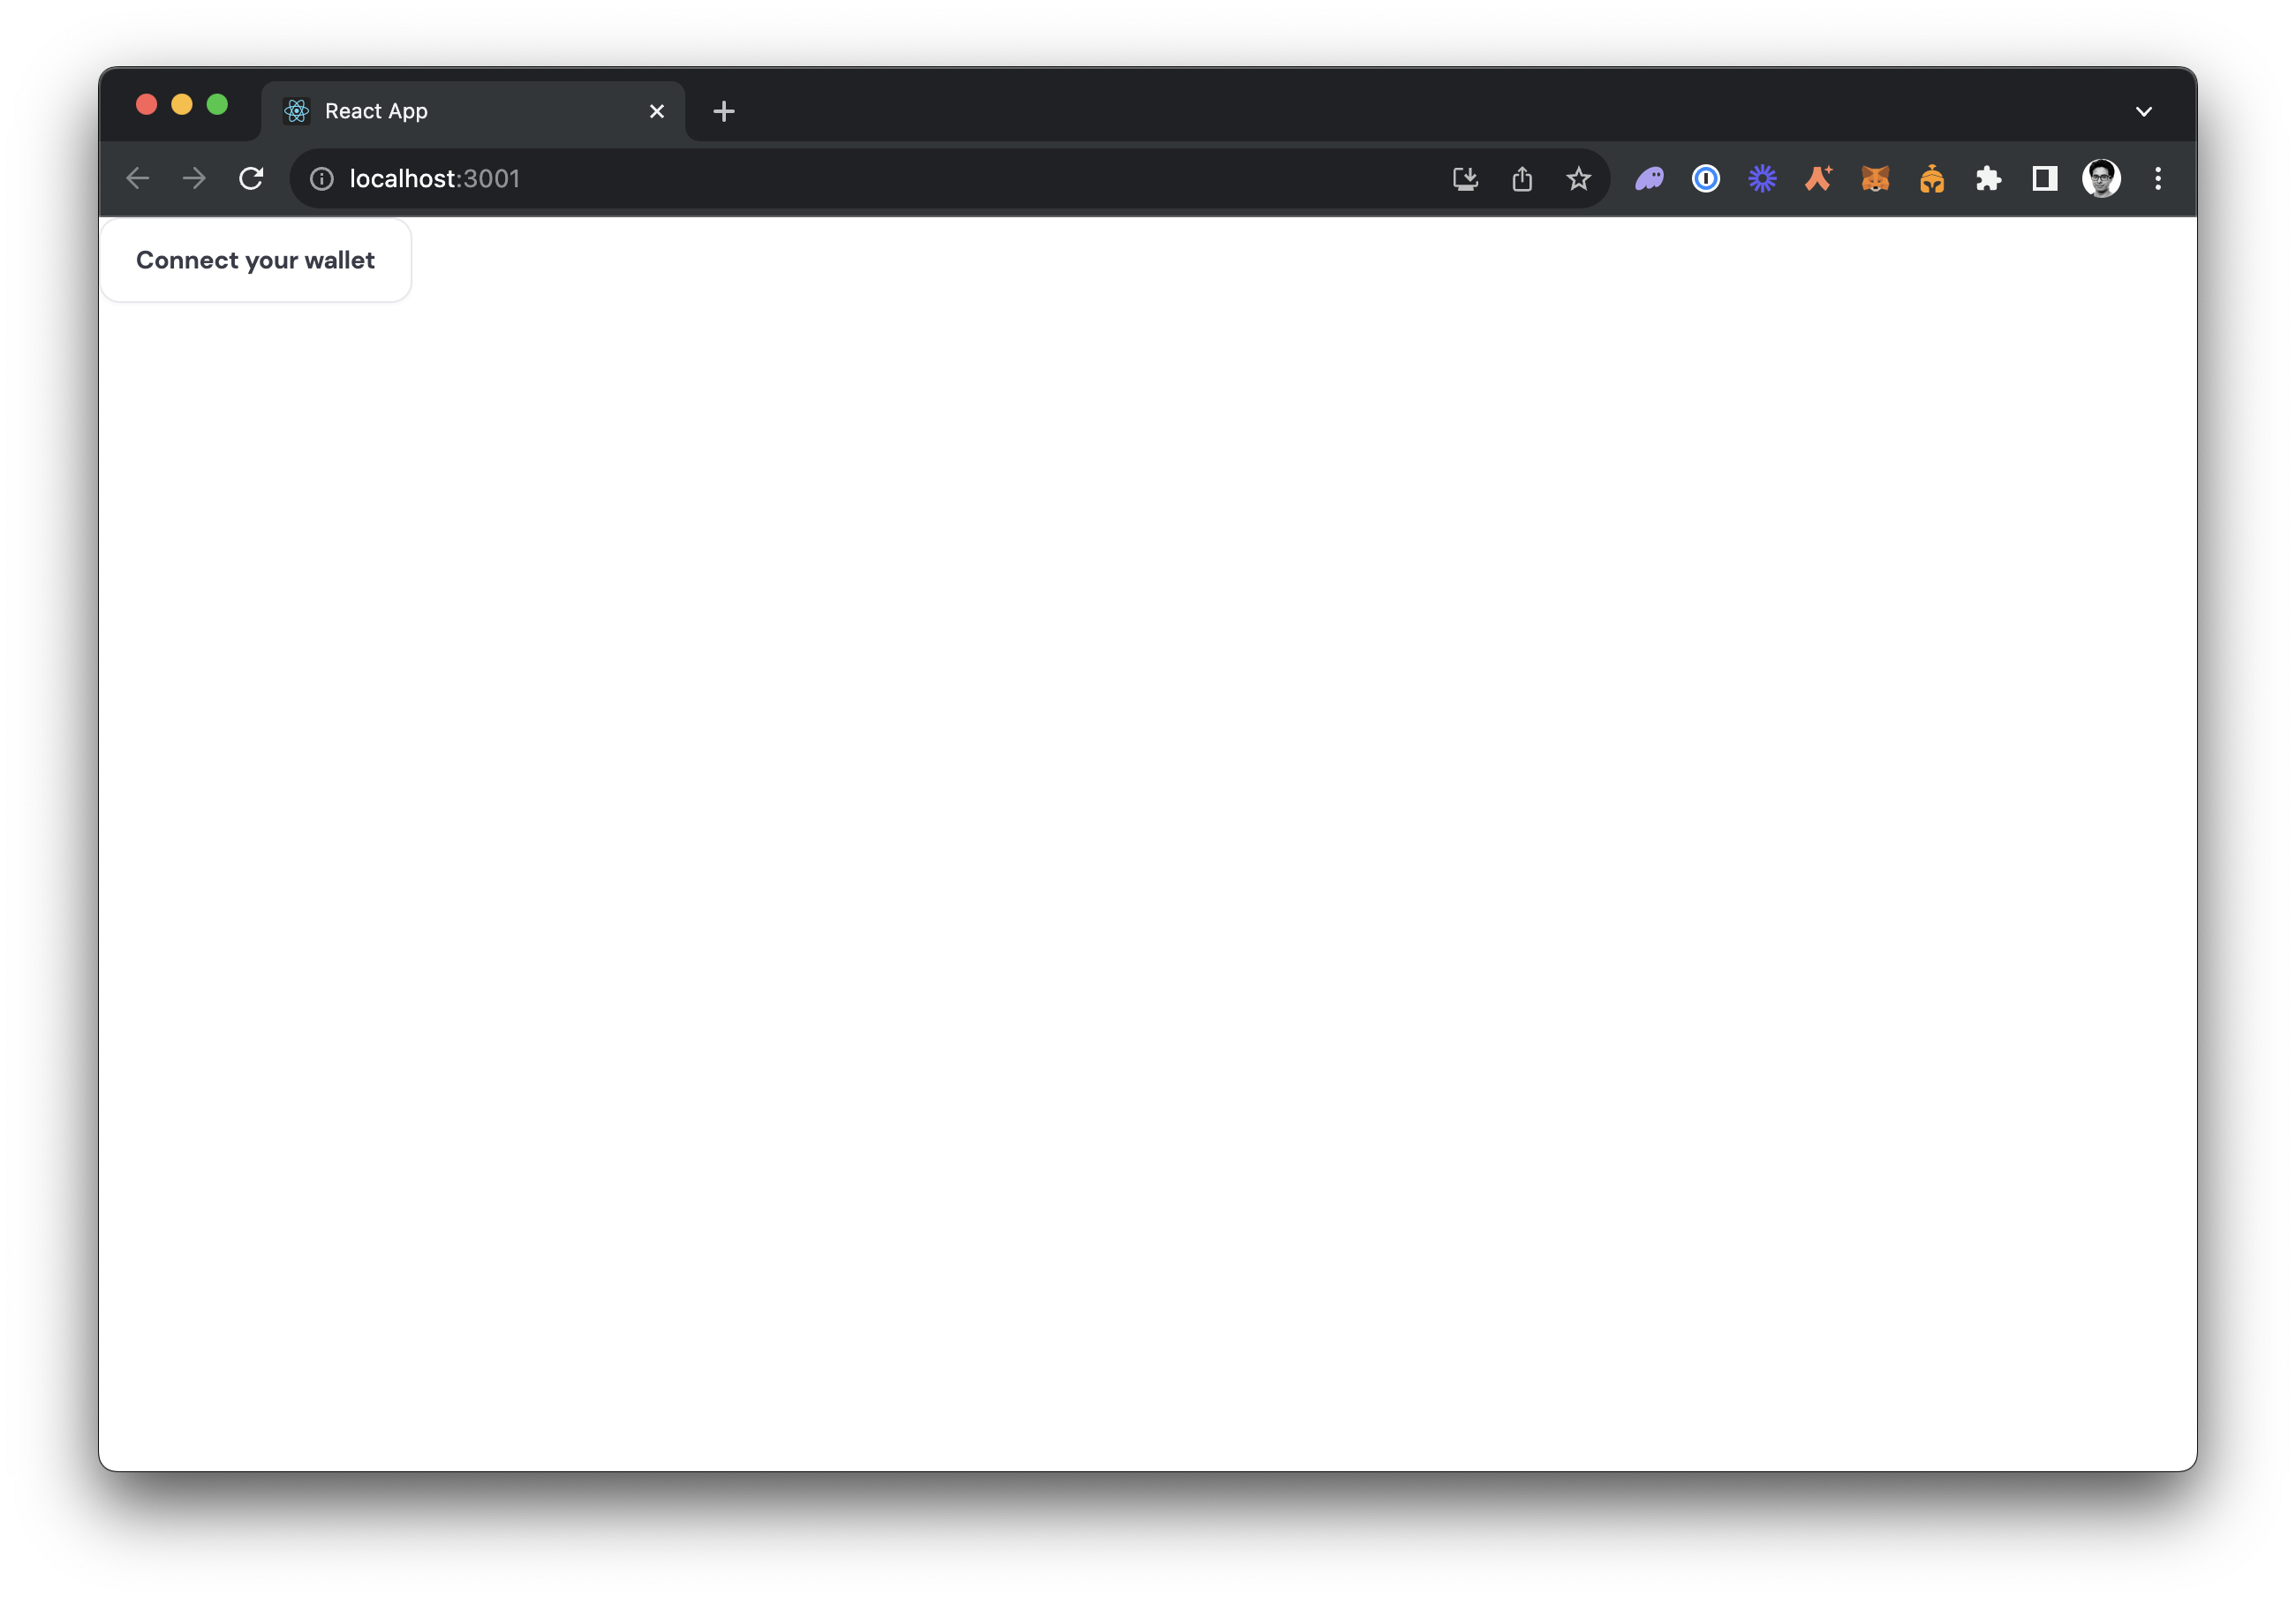
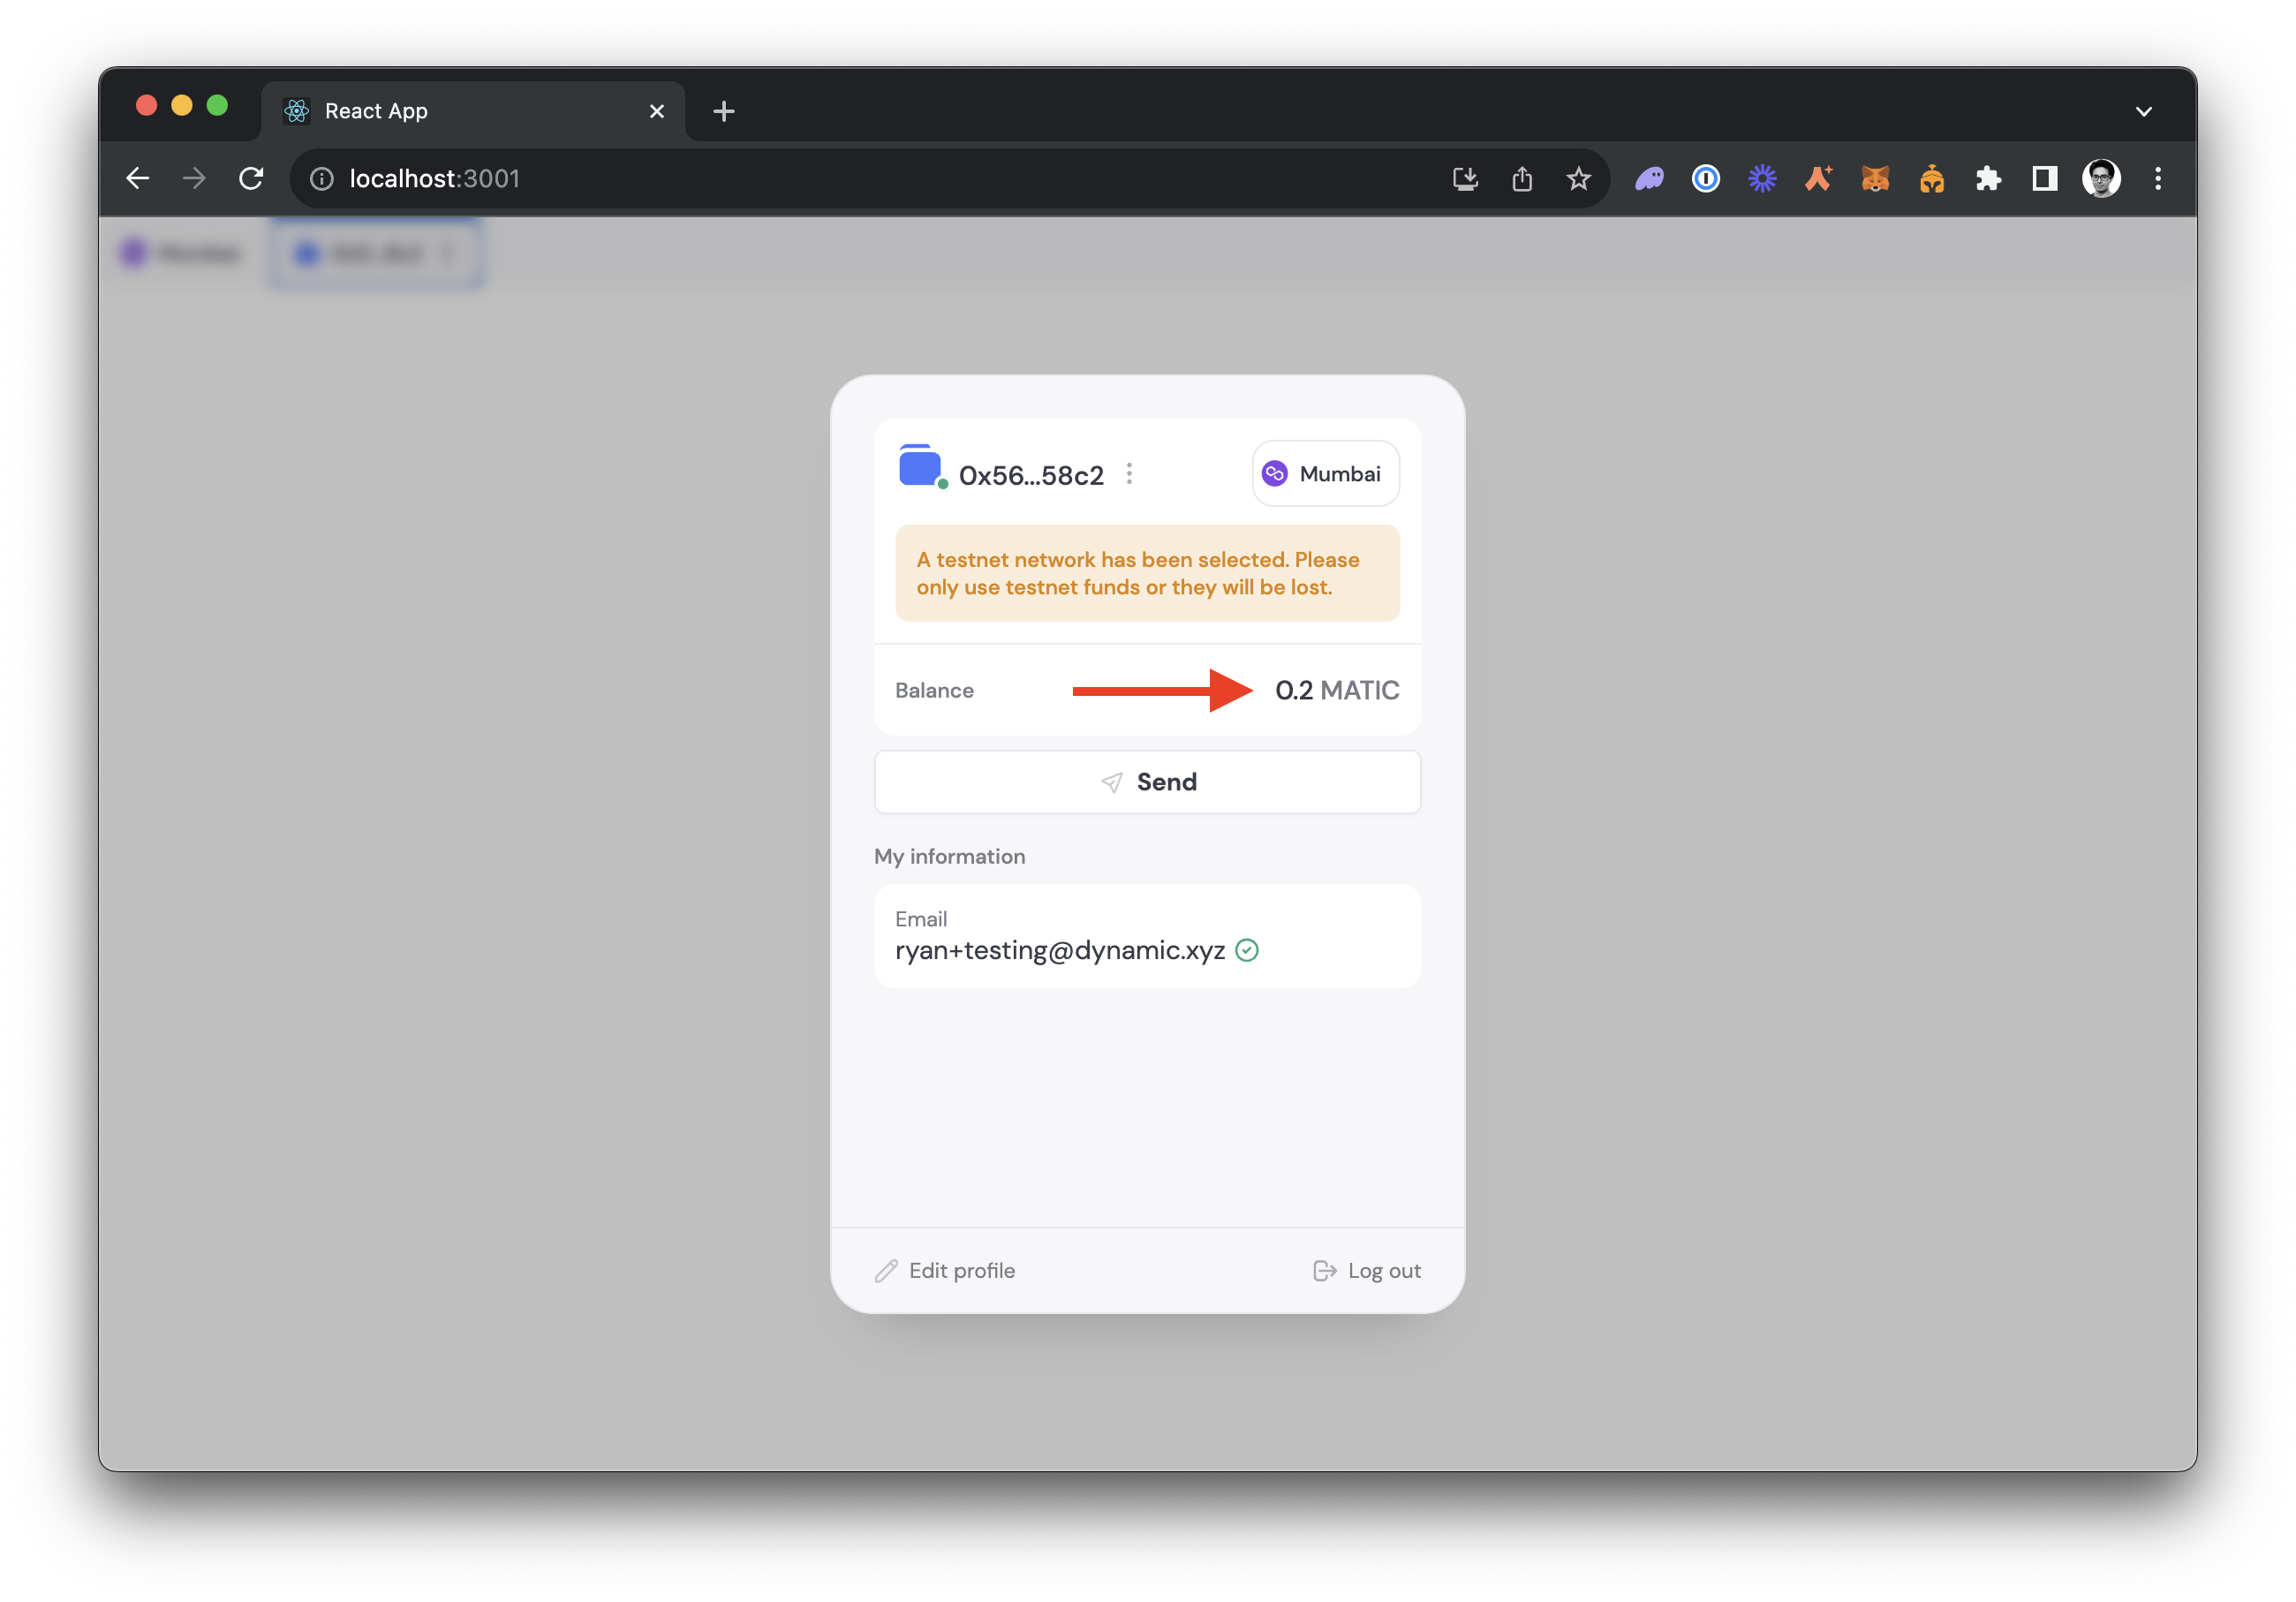
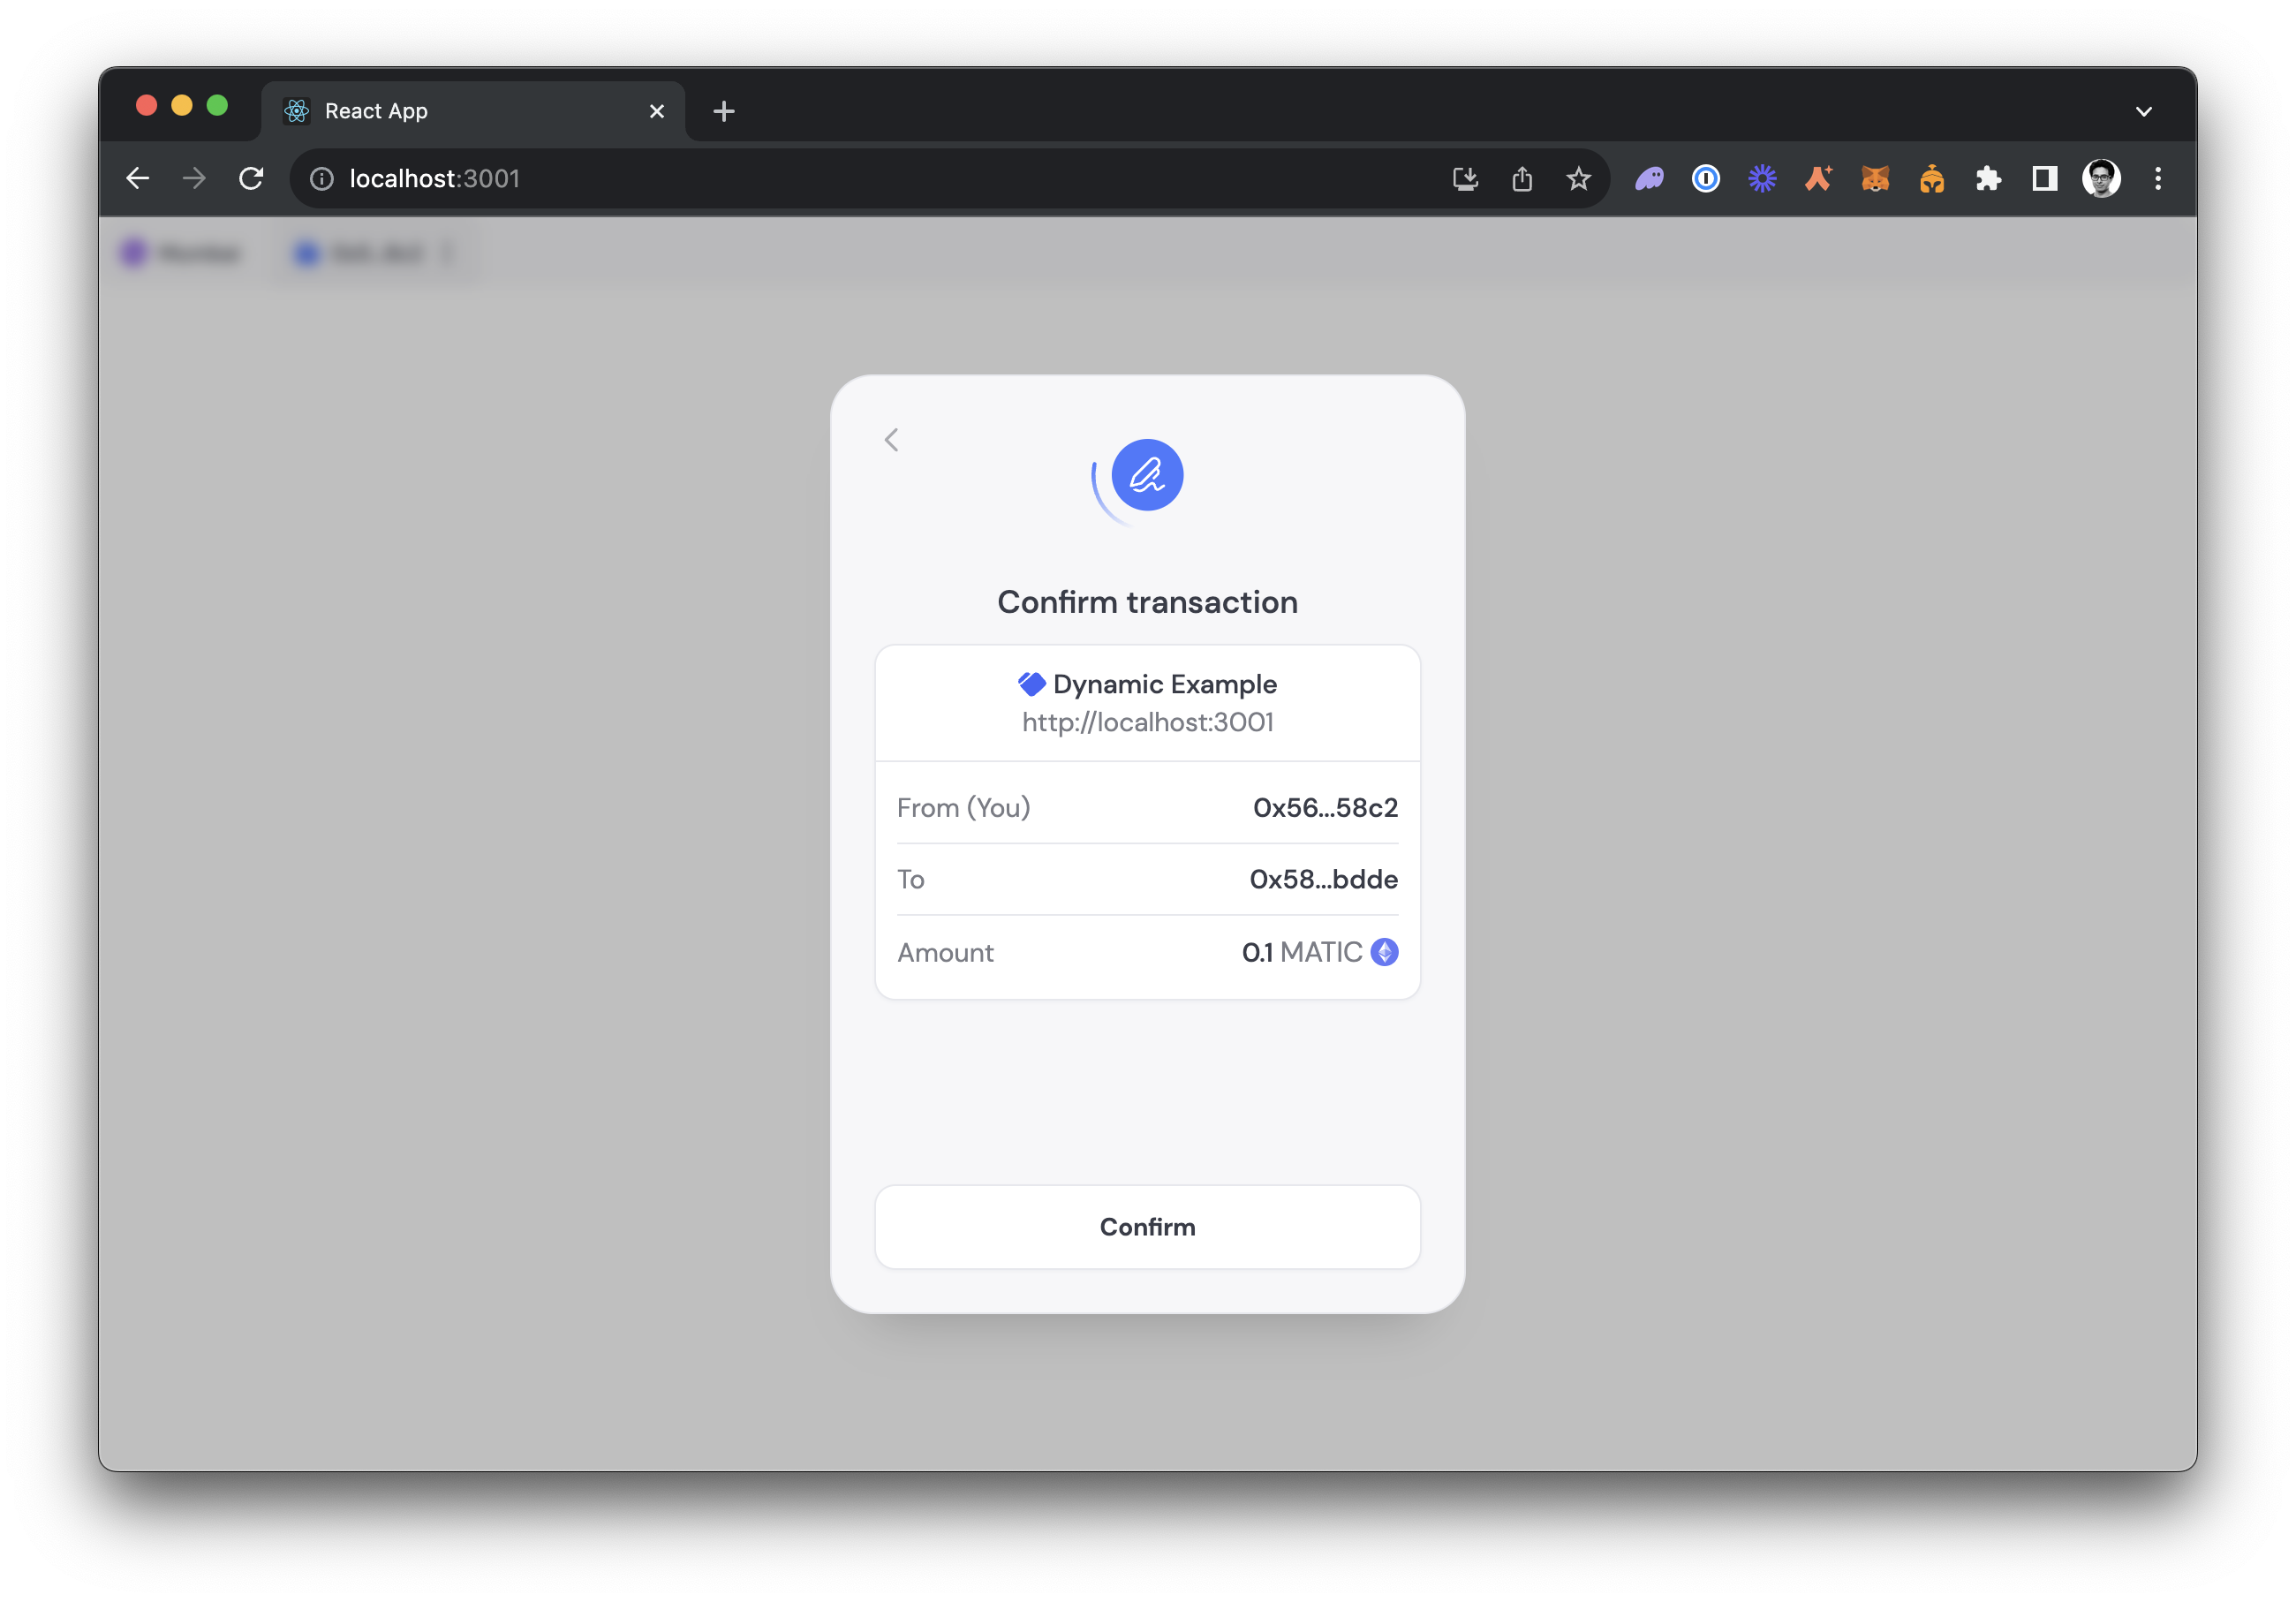
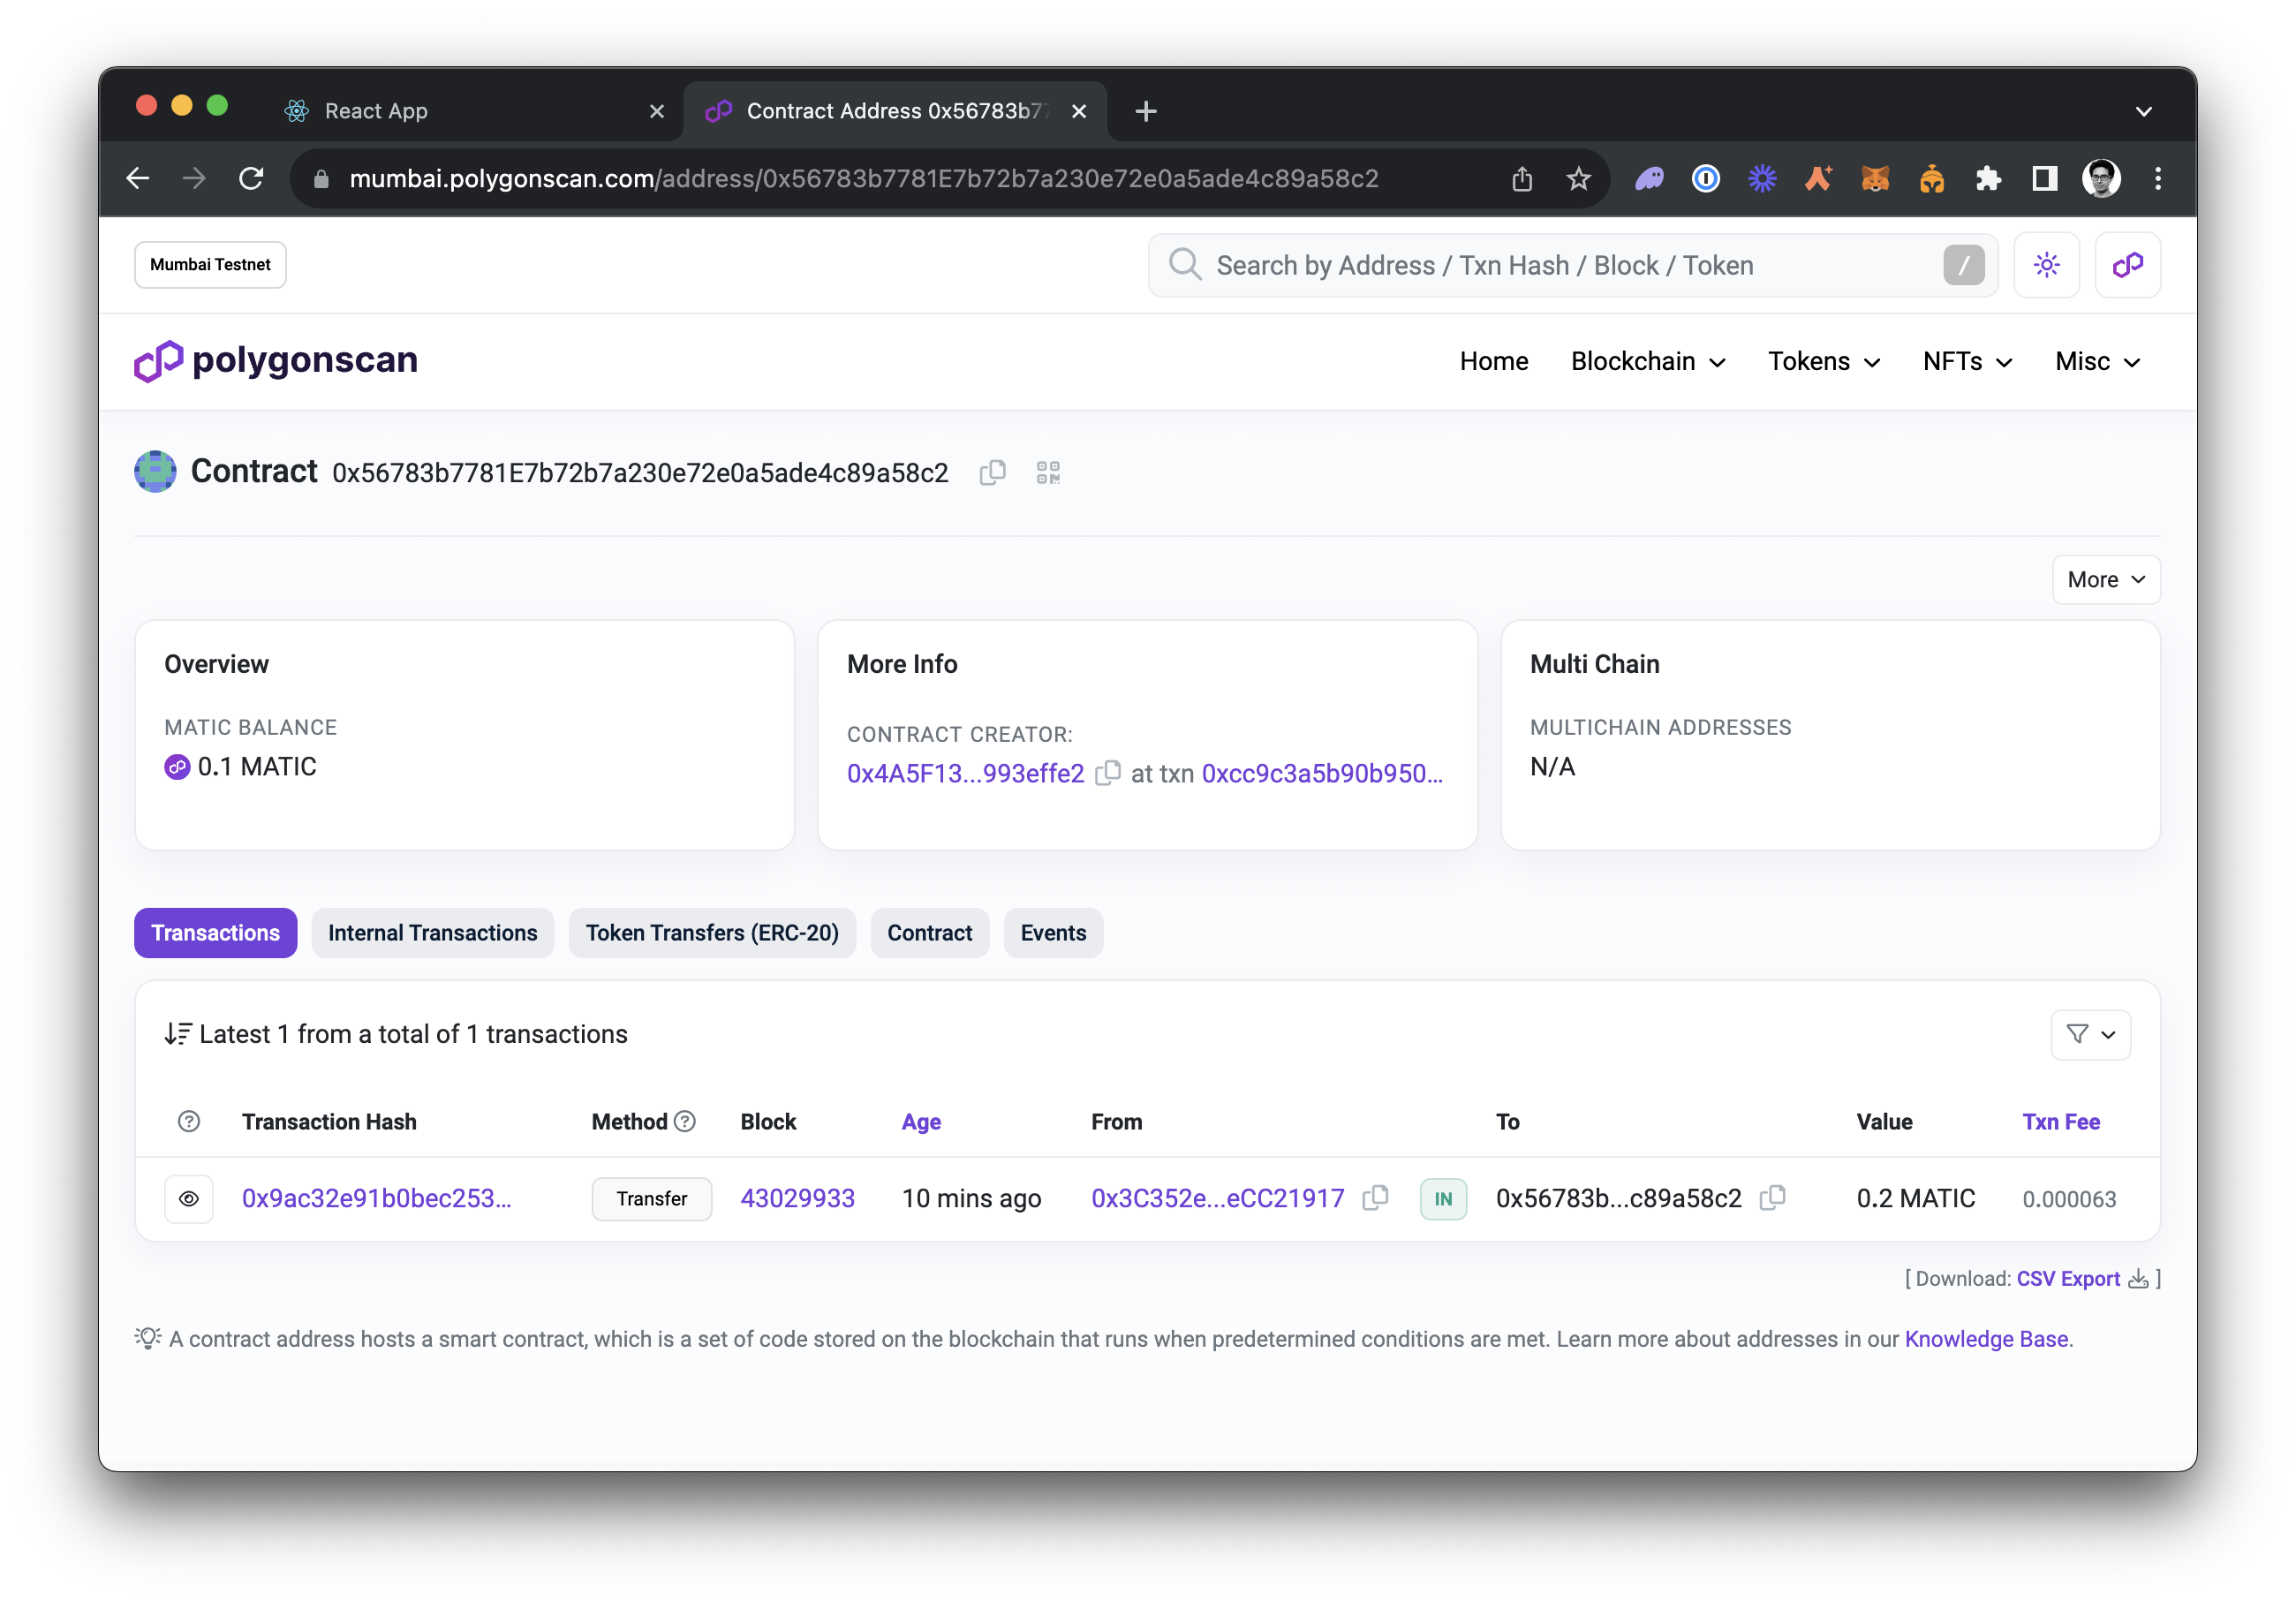
Send a transaction
Advanced Configuration
Now you are set up, you can utilize the full functionality of ZeroDev inside Dynamic - everything from session keys to gas policies. Learn more in the ZeroDev Docs.Specifying a bundler/paymaster RPC
UseZeroDevSmartWalletConnectorsWithConfig and pass in values for bundlerRpc and paymasterRpc:
Specifying a bundler
To specify a bundler, useZeroDevSmartWalletConnectorsWithConfig and pass in a value for bundlerProvider:
Retrieving the Kernel Client using getAccountAbstractionProvider()
Using with Viem & Ethers
You can use viem or ethers with account abstraction to sign messages or send sponsored transaction with no extra configuration, it also works with our wagmi integration.Going Further
Once you’ve tested things out and want to deploy to a live network, you will need to do the following:- Add your credit card to ZeroDev under Account Settings > Billing
- Create a new ZeroDev project and select a live network
- Copy your new ZeroDev project id and paste it into your Dynamic Dashboard a. We recommend using your Dynamic Sandbox environment for testing your testnet setup, and using your Dynamic Live environment for production.
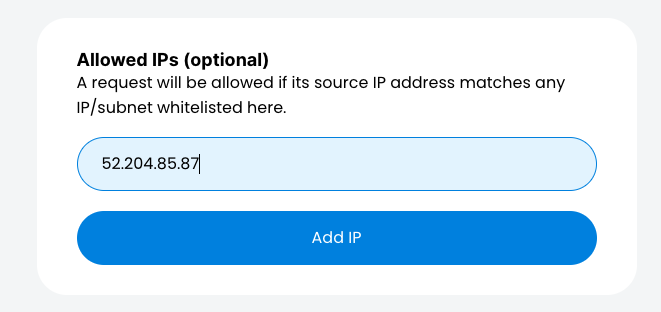
Restricting Access to your ZeroDev Project
In order to restrict access to your ZeroDev project id to allow only dynamic to use it you can add dynamic’s static IP address’s to your projects IP allowlist. Dynamic’s IP addresses:52.204.85.8754.145.74.8107.20.170.23852.206.26.563.232.2.6744.213.187.169
Examples
Get smart wallet address vs signer address
The wallet connector will return your smart wallet address, that address will be used in the Dynamic UI and is the main address you will interact with. But you can fetch the signer address by using the wallet connector getEOAConnector and then fetching the address there.FAQ
Can I use an existing wallet as a smart contract wallet with account abstraction?
Can I use an existing wallet as a smart contract wallet with account abstraction?
What networks are supported for deploying smart contract wallets?
What networks are supported for deploying smart contract wallets?
- Arbirtrum One
- Avalanche
- Base
- Binance Smart Chain
- Eth
- Optimism
- Polygon
Can I change the network for a smart contract wallet after it's deployed?
Can I change the network for a smart contract wallet after it's deployed?
What happens if I don't want to use a provider i.e. ZeroDev any more?
What happens if I don't want to use a provider i.e. ZeroDev any more?
What pricing package includes this feature?
What pricing package includes this feature?
What does private beta mean in this context, what should I expect?
What does private beta mean in this context, what should I expect?
How are private keys securely managed and stored for smart contract wallets with account abstraction?
How are private keys securely managed and stored for smart contract wallets with account abstraction?
What is the process for recovering a smart contract wallet in case of key loss or compromise?
What is the process for recovering a smart contract wallet in case of key loss or compromise?
Are your smart contract wallets non-custodial?
Are your smart contract wallets non-custodial?
Why is it better to do this through Dynamic than integrating ZeroDev directly?
Why is it better to do this through Dynamic than integrating ZeroDev directly?